
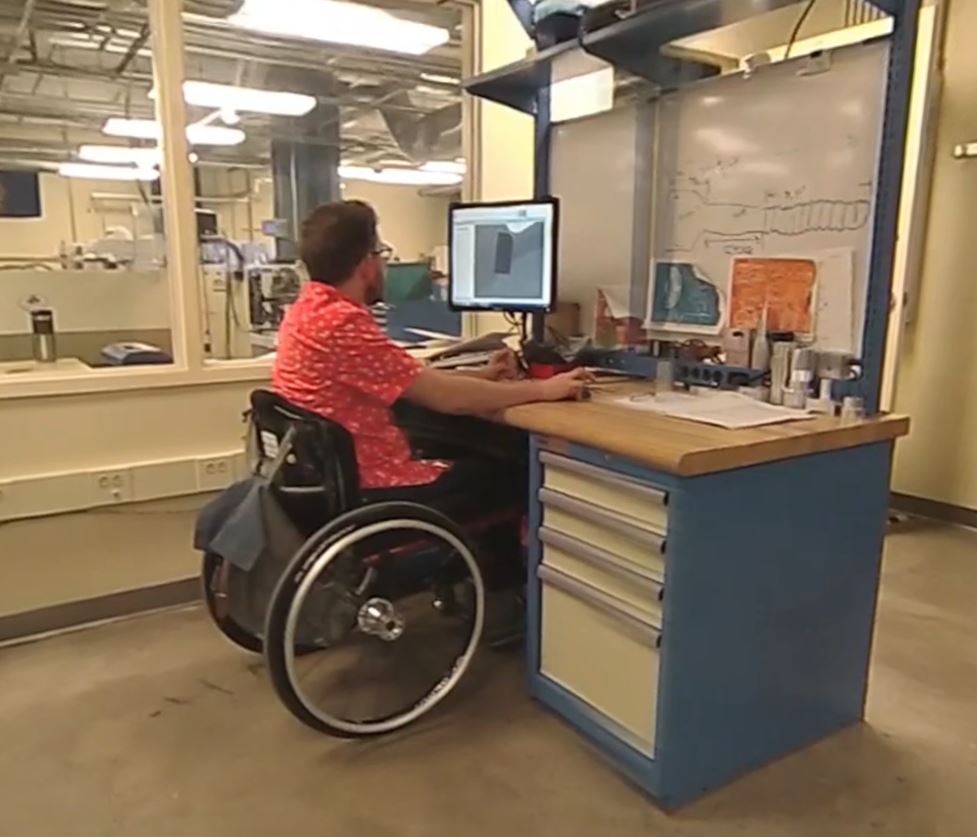
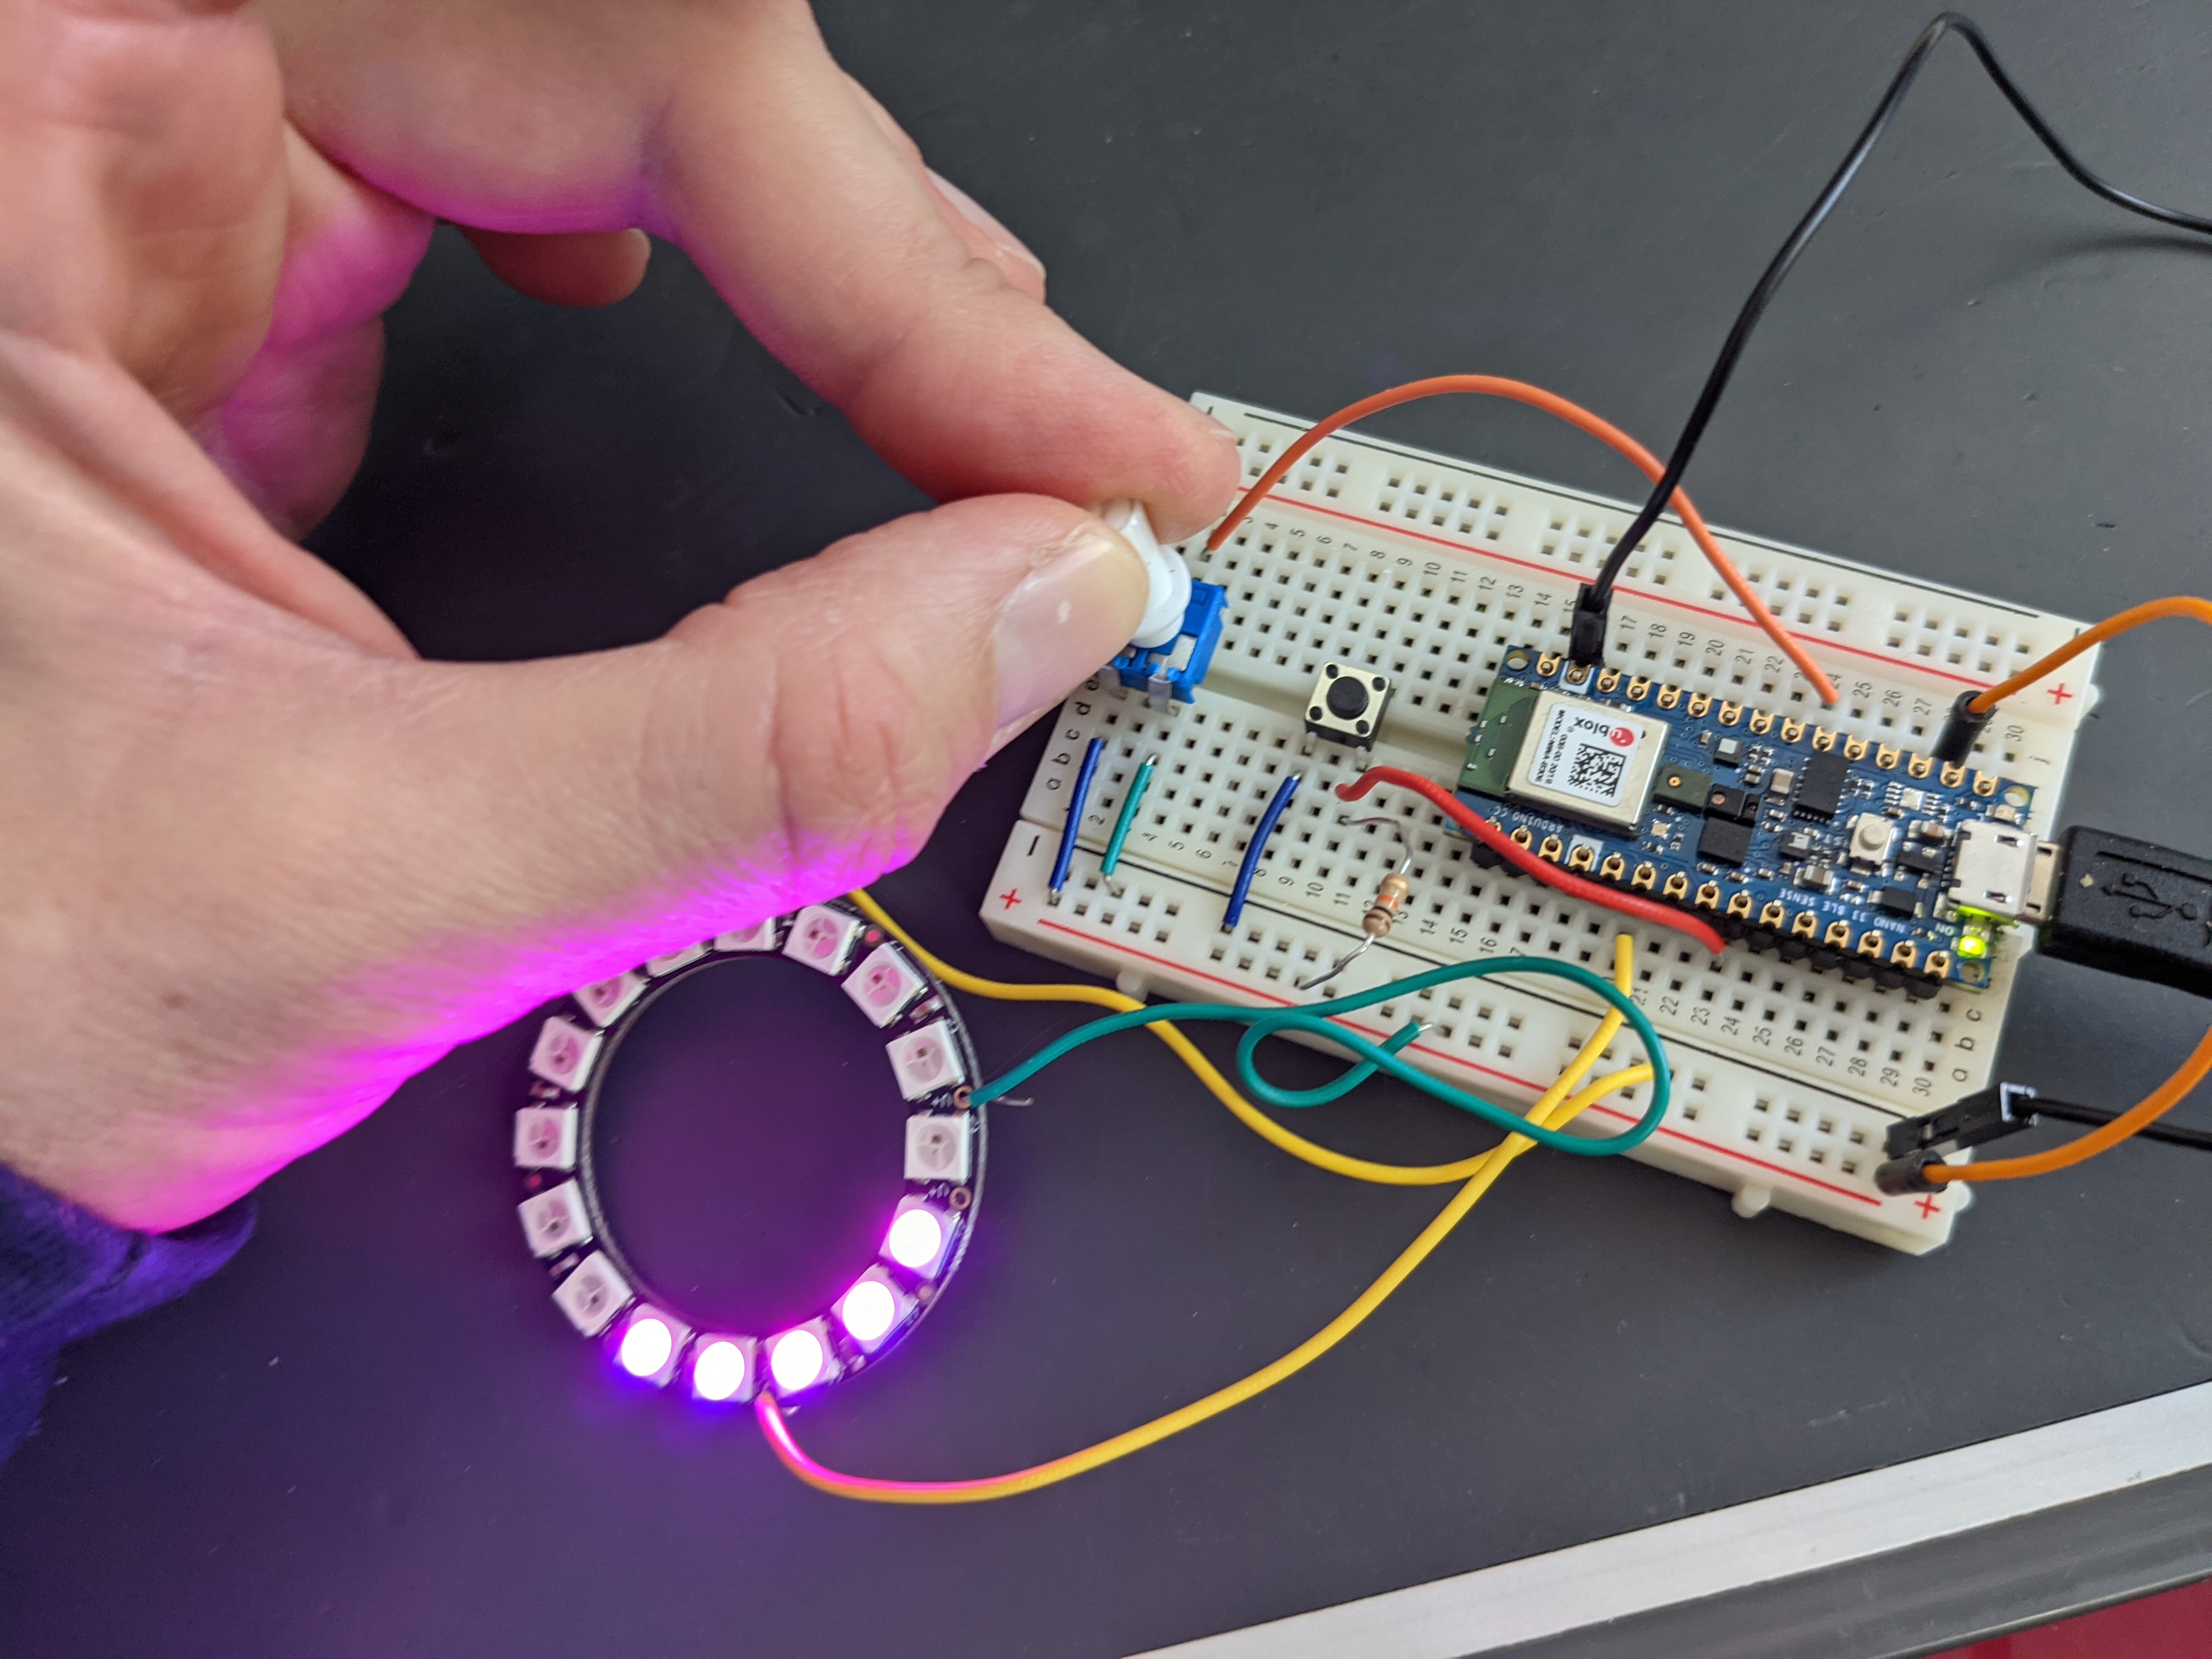
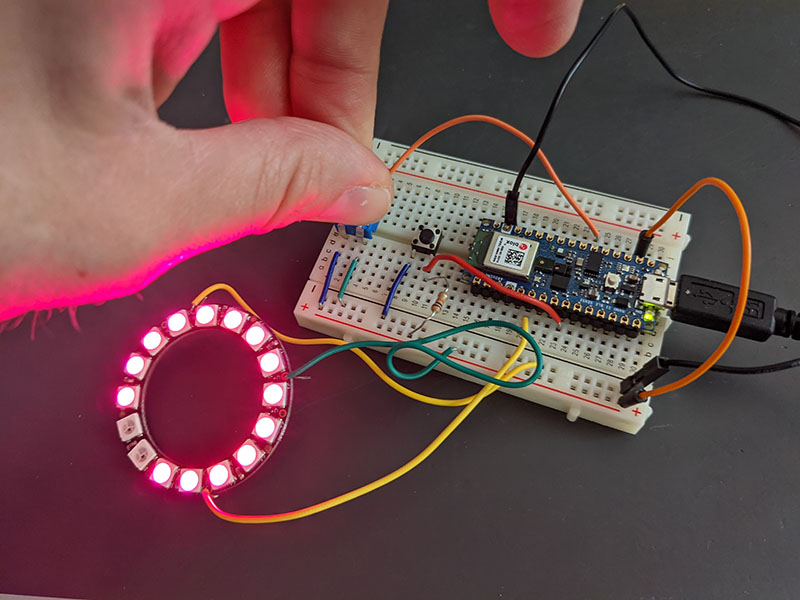
While working on customizing a light ring for my hand-blender prototype I ran into some issues I should have expected. My Arduino Uno board is still driving the LCD screen on my favorite little person’s robot costume so I thought I’d be able to slightly modify the LED ring code I’d used successfully before to run on another Arduino Nano board I got for this purpose. It quickly became clear to me why the Uno board is a good place to start. The Nano BLE board has a lot of options and complexity that made it difficult to replicate the exercise I had done on the Uno to create a light ring and potentiometer combo that might drive a feedback mechanism for the blender light ring.
Ideally, the further you turn the potentiometer, the more red the color would be and the more LEDs would be lit.
Main issues:
Interesting to note that the Nano 33 BLE Sense board I have uses 2 COM ports – one for serial data and one for uploading. It’s tricky to get it to upload correctly if you’re not aware of this and there is little instruction on this provided by Arduino since the IDE is supposed to handle it (but doesn’t in my case). Double pressing the reset button will toggle between the bootloader and the serial mode (and will cause the COM port to change on your computer).
Not sure if the entire Nano BLE library is necessary as this test didn’t use any of the sensor data but it did work better when I included it.
The Nano board also doesn’t supply 5v power by default, you have to solder a connection to the 5V pin if you want to use it. The NeoPixels didn’t seem to like working at 3V from the standard pin and I’m not sure if this caused the stutter in the rotation or if it was a coding error. I’ve posted the video of the Arduino Uno and the Arduino Nano below for comparison. I might solder the connection to see if this works better running on 5V.
#include <Nano33BLE_System.h>

// Arduino code for Neopixel LED controller
// using a potentiometer and switch button
// (C) Ismail Uddin, 2015
// www.scienceexposure.com

#include <Adafruit_NeoPixel.h>

#define PIN 3
Adafruit_NeoPixel strip = Adafruit_NeoPixel(16, PIN, NEO_GRB + NEO_KHZ800);

int potPin = 2;
int val = 0;
int colorVal = 0;
int reading = 0;
int x;
int prevVal = 0;
int switchPin = 6;
boolean lastBtn = LOW;
boolean NeopixelColor = false;
boolean lastButton = LOW;


void setup() {
  // put your setup code here, to run once:
  strip.begin();
  strip.show();
  pinMode(switchPin, INPUT);

}

void loop() {
  // put your main code here, to run repeatedly:
  reading = analogRead(potPin);
  val = (reading/1024.0) * 17;
  colorVal = (reading/1024.0) * 255;

  if (digitalRead(switchPin) == HIGH && lastButton == LOW)
  {
    delay(250); // Account for contact debounce
    NeopixelColor = !NeopixelColor;

  }

  if (NeopixelColor == false)
  {
    // Neopixel LED number code
    strip.setBrightness(80);
    if (val != prevVal)
    {
      for ( x = 0; x < val; x++)
      {
        strip.setPixelColor(x,255,0,255);
      }
      for (x=val; x<17; x++)
      {
        strip.setPixelColor(x,0,0,0);
        strip.show();
      }
      prevVal = val;
    }
    else
    {
      strip.show();
    }

  }
  else
  {
    // Neopixel Color code
    for (x=0; x < prevVal; x++)
    {
      strip.setPixelColor(x,colorVal,0,255-colorVal);
      strip.show();
    }
  }
}